DIY iPhone XR 屏幕更换:如何修复破裂的屏幕
iPhone 不小心掉地上,屏幕碎裂、触控失灵、显示失真——听起来很熟悉,对吧?屏幕是 iPhone 最脆弱的部件之一,尤其是 iPhone XR。一旦损坏,不仅会影响手机的外观,还会影响功能。
许多用户想知道:我到底应该什么时候更换屏幕?我可以自己更换吗?哪里是更换 Apple 屏幕最安全的地方?在本篇iPhone 屏幕维修教程中,我将分享我个人使用DIY iPhone XR 屏幕更换 的经验,并解答您的所有疑问。
开始之前:关于DIY iPhone 维修
我不会评论 iPhone 的整体质量或品牌声誉,因为每个人都有自己的看法。但值得赞赏的是,网上有大量的 iPhone 拆解教程。对于动手能力强的人来说,DIY iPhone 维修——比如更换 iPhone 屏幕组件——是完全可以做到的。
然而,苹果对未经授权或第三方 iPhone 屏幕维修 的要求越来越严格。例如,在 iOS 18 系统中,如果您的 iPhone 相机、电池或屏幕未通过 Apple 授权维修服务进行维修,或未使用经过认证的“原装”部件,您将看到“部件未经验证”的警告。这意味着自行维修 iPhone XR 屏幕和其他部件可能会随着时间的推移变得更加困难。
此外,随着新款 iPhone 配备更多嵌入式传感器和更紧凑的布局,更换 iPhone XR 屏幕变得更加复杂。如果您没有合适的工具或经验,我建议将这项工作交给专业人士。即使手机看起来已经修好了,使用非原装零件或使用低劣的维修技术也会导致进一步的问题。
我的iPhone XR 屏幕维修经历
我的 iPhone XR 前后玻璃都出现了严重的裂纹。由于后盖不影响使用,我只关注iPhone XR 屏幕更换。

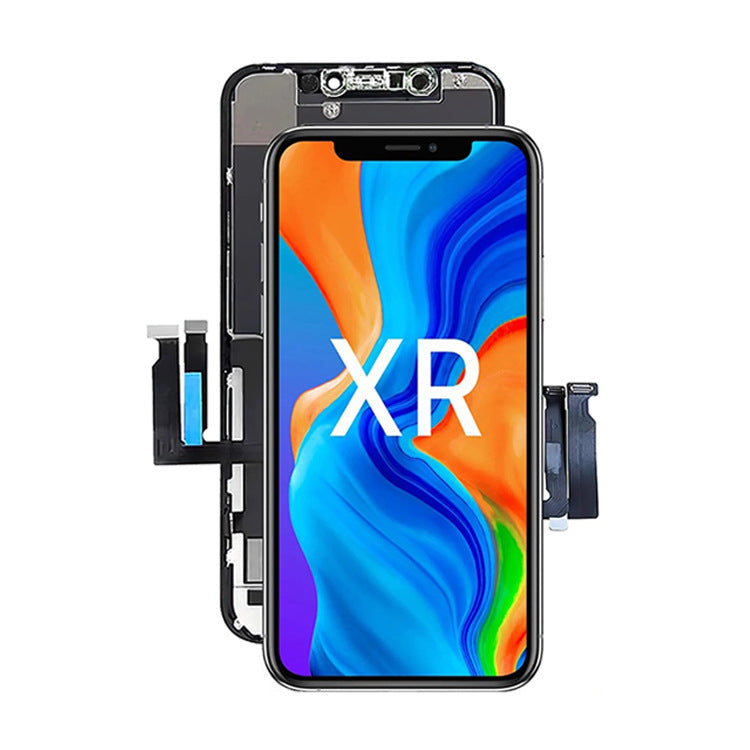
步骤 1:选择更换屏幕
我即将更换的屏幕不包含顶部扬声器组件,该组件包含麦克风、泛光照明器、环境光传感器和接近传感器等组件。这意味着我必须把这些部件从旧屏幕转移到新屏幕上——这在DIY iPhone 屏幕维修中是一项更高级的任务。
为了简化操作,您可以选择完整的 iPhone XR 屏幕组件,其中所有组件都已预先安装好。这样,您就无需从旧显示屏上拆下零件了。
步骤 2:拆卸破损的屏幕

拆卸iPhone XR 与其他 iPhone 类似。我使用了提供的工具和强力热风枪。对于大多数DIY iPhone 屏幕更换来说,在边缘加热有助于松动粘合剂。
开始之前,请先取出 SIM 卡托——必须先拆下屏幕。
加热约 5 分钟后,我用吸盘和撬棒小心地将屏幕抬起。请注意:屏幕和主板之间仍有几条排线连接,因此请避免用力。
务必先断开电池连接器。本次维修,我只需要拆下屏幕柔性排线和顶部传感器组件。拧下金属支架时,请记住它们的位置——正确的重新组装取决于此。
步骤 3:从旧屏幕转移组件

这里是 DIY iPhone XR 屏幕维修 更专业的地方。我必须从旧屏幕上拆下扬声器、麦克风、环境光传感器和接近传感器,然后将它们安装到新屏幕上。
虽然新旧 iPhone XR 屏幕 的尺寸和布局看起来完全相同,但转移这些小部件的精密工作并不容易。其中涉及微小的橡胶垫圈、支架和连接器,必须小心处理。
拧开顶部后,我小心地拆卸并清洁了每个部件,然后再进行安装。在iPhone 屏幕更换后,正确对齐对于这些传感器的正常工作至关重要。
步骤 4:重新组装和完全恢复

一切就绪后,就可以重新组装 iPhone 了。 iPhone XR 屏幕更换教程的这一部分主要讲的是按之前的步骤进行操作。
我清理了残留的粘合剂和内部灰尘——手机内部竟然会变得这么脏,你肯定会感到惊讶!重新安装时,请确保橡胶密封圈位置正确,带状线缆上的金属夹位置与之前完全一致。
密封好设备并按下电源键后,Apple 标志出现了。新屏幕触摸反应流畅——我的iPhone DIY 维修成功了。我相信这款手机现在至少还能用三年!

总结
只要有合适的工具、耐心和正确的指导,在家更换 iPhone XR 屏幕是完全可行的。虽然 Apple 的系统每年都会让自行维修 iPhone变得更加困难,但谨慎的 DIY 方法仍然可以为您省钱并延长手机的使用寿命。
如果您正在考虑自行更换 iPhone XR 屏幕,请遵循本指南,使用优质工具,并保持耐心。如果您对自己的技术没有信心,专业服务仍然是最安全的选择。
想要更多 Apple 设备的 DIY 维修技巧和电池建议吗?
立即探索我们的支持中心: applebattery.com/blogs/support